
Aburi Salmon Nigiri
Salmon nigiri torched (aburi) until the fats melt a little and infuses glossy, perfectly seasoned rice nestling with extra flavour – this restaurant favourite takes a little effort to make at home, but it’s well worth it for how impressed your guests will be.

Each spring, we have an annual Hanami gathering, sometimes in a park and sometimes at our place – wherever the blossoms are best. Literally meaning ‘flower viewing’ Hanami is the Japanese tradition of appreciating cherry blossoms, the fleeting nature of which reminds us that beauty lies in impermanence. We are lucky to have very old, very large white flowering cherry trees on the grass berms outside our house so we gather underneath these with friends and family, sharing a pot luck feast and sake. Now midsummer, those petals are long gone, replaced by green foliage that will also fly up and away in no time.
Last Hanami I was gifted some beautiful fresh Mt Cook Alpine salmon for the occasion. Demand for New Zealand salmon in export markets is strong, so it’s become less available and more expensive here. We used to eat it weekly in our house but now it’s a special occasion food, so when we do enjoy it it may as well be the very best. Mt Cook Alpine Salmon is farmed in the aqueducts of the Southern Alps foothills; fish swim constantly against the fast, icy cold current keeping their flesh lean – the taste is clean and the texture firm but silky. I was chatting to chef and famously good fish guy Tom Hishon recently and he said Mt Cook is the only salmon he eats.
You can find Mt Cook Alpine Salmon at a number of retailers across the motu.
Preparing the salmon side
My friend and excellent cook Kyoko is experienced in sashimi techniques, and this preparation follows her method.
From one side of salmon, you can create two prime sashimi fillets and one secondary centre fillet (ideal for sushi rolls, poke, tartare, etc.). One of the prime fillets is best for aburi because it’s wider, allowing you to slice long, thin strips that drape beautifully over rice.
Remove the Skin
Place the side of salmon on your board, flesh facing up.
Holding the tail end with your non-dominant hand, use a very sharp knife to run the blade perpendicular and as close to the skin as possible, easing the flesh away as you move toward the head.
Re-grip as needed. At the head end, press down to slice the final section free.
Don’t discard the skin!
Keep it aside—ideas for using it are included later.
Create the Three Sections
Run your fingertips gently along the centreline to check for bones. (Mt Cook Alpine fillets are sold with the pin bones removed, so you won’t need to worry about this step if you’re using this brand).
Note where the centreline flesh becomes softer and deeper red.
Slice along that centreline to remove the first long strip of firm flesh — your first prime fillet.
Repeat on the other side of the centreline to create the second prime fillet.
You now have two prime fillets and a centreline piece.
Trim the Fillets
Remove:
Any remaining traces of skin and its white underside
Any darker skin-side flesh
A very sharp knife makes this easier, but Kyoko often freezes the fillets briefly so they firm up.
You can:
Freeze until just firm, then trim
orFreeze fully to store for later use
To freeze:
Wrap fillets gently but securely in clingfilm.
Place in a zip-lock bag with the air pressed out.
Lay flat in the freezer.
Preparing each section
For aburi
Use the wider prime fillet with the thinner edge.
Place the fillet on a board and hold lightly with your fingertips.
Slice across the grain at a 45° angle toward your guiding hand, creating very thin slices.
Arrange slices carefully on a platter.
For sashimi
Use the other prime fillet with more even thickness.
Slice as above, but make pieces slightly thicker.
Arrange on a serving platter.
Using the centreline fillet
Tweeze any remaining bones.
Trim off tough connective tissue.
Use as:
Filling for 1–2 sushi rolls, or
Dice for poke or tartare
Preparing rice
Rinse the rice thoroughly in a bowl under running water, agitating several times until the water runs much clearer.
Cook in a rice cooker or using the absorption method.
Transfer the cooked rice to a dampened wooden sushi oke (or any wide bowl).
Using a gentle chopping motion, stir through the correct amount of sushi-su (powdered or liquid seasoning).
Spread rice out and fan to cool quickly.
Keep rice at room temperature for shaping.
If not using immediately, transfer to a container to prevent it from getting cold.
Instructions for aburi
You can shape nigiri by hand, but here is Kyoko’s hack:
Take a takoyaki tray mould (or any mould with ~4 cm half-spheres) and lay a square of clingfilm over the top.
Place a slice of salmon inside one depression.
Add a tablespoon of seasoned rice on top.
Fold the salmon edges up over the rice.
Flip the clingfilm to pop out the topped nigiri and place on a serving platter.
Reuse the same clingfilm and repeat until all slices are used.
Top each piece with a small amount of Kewpie mayo (a bottle with a narrow nozzle helps).
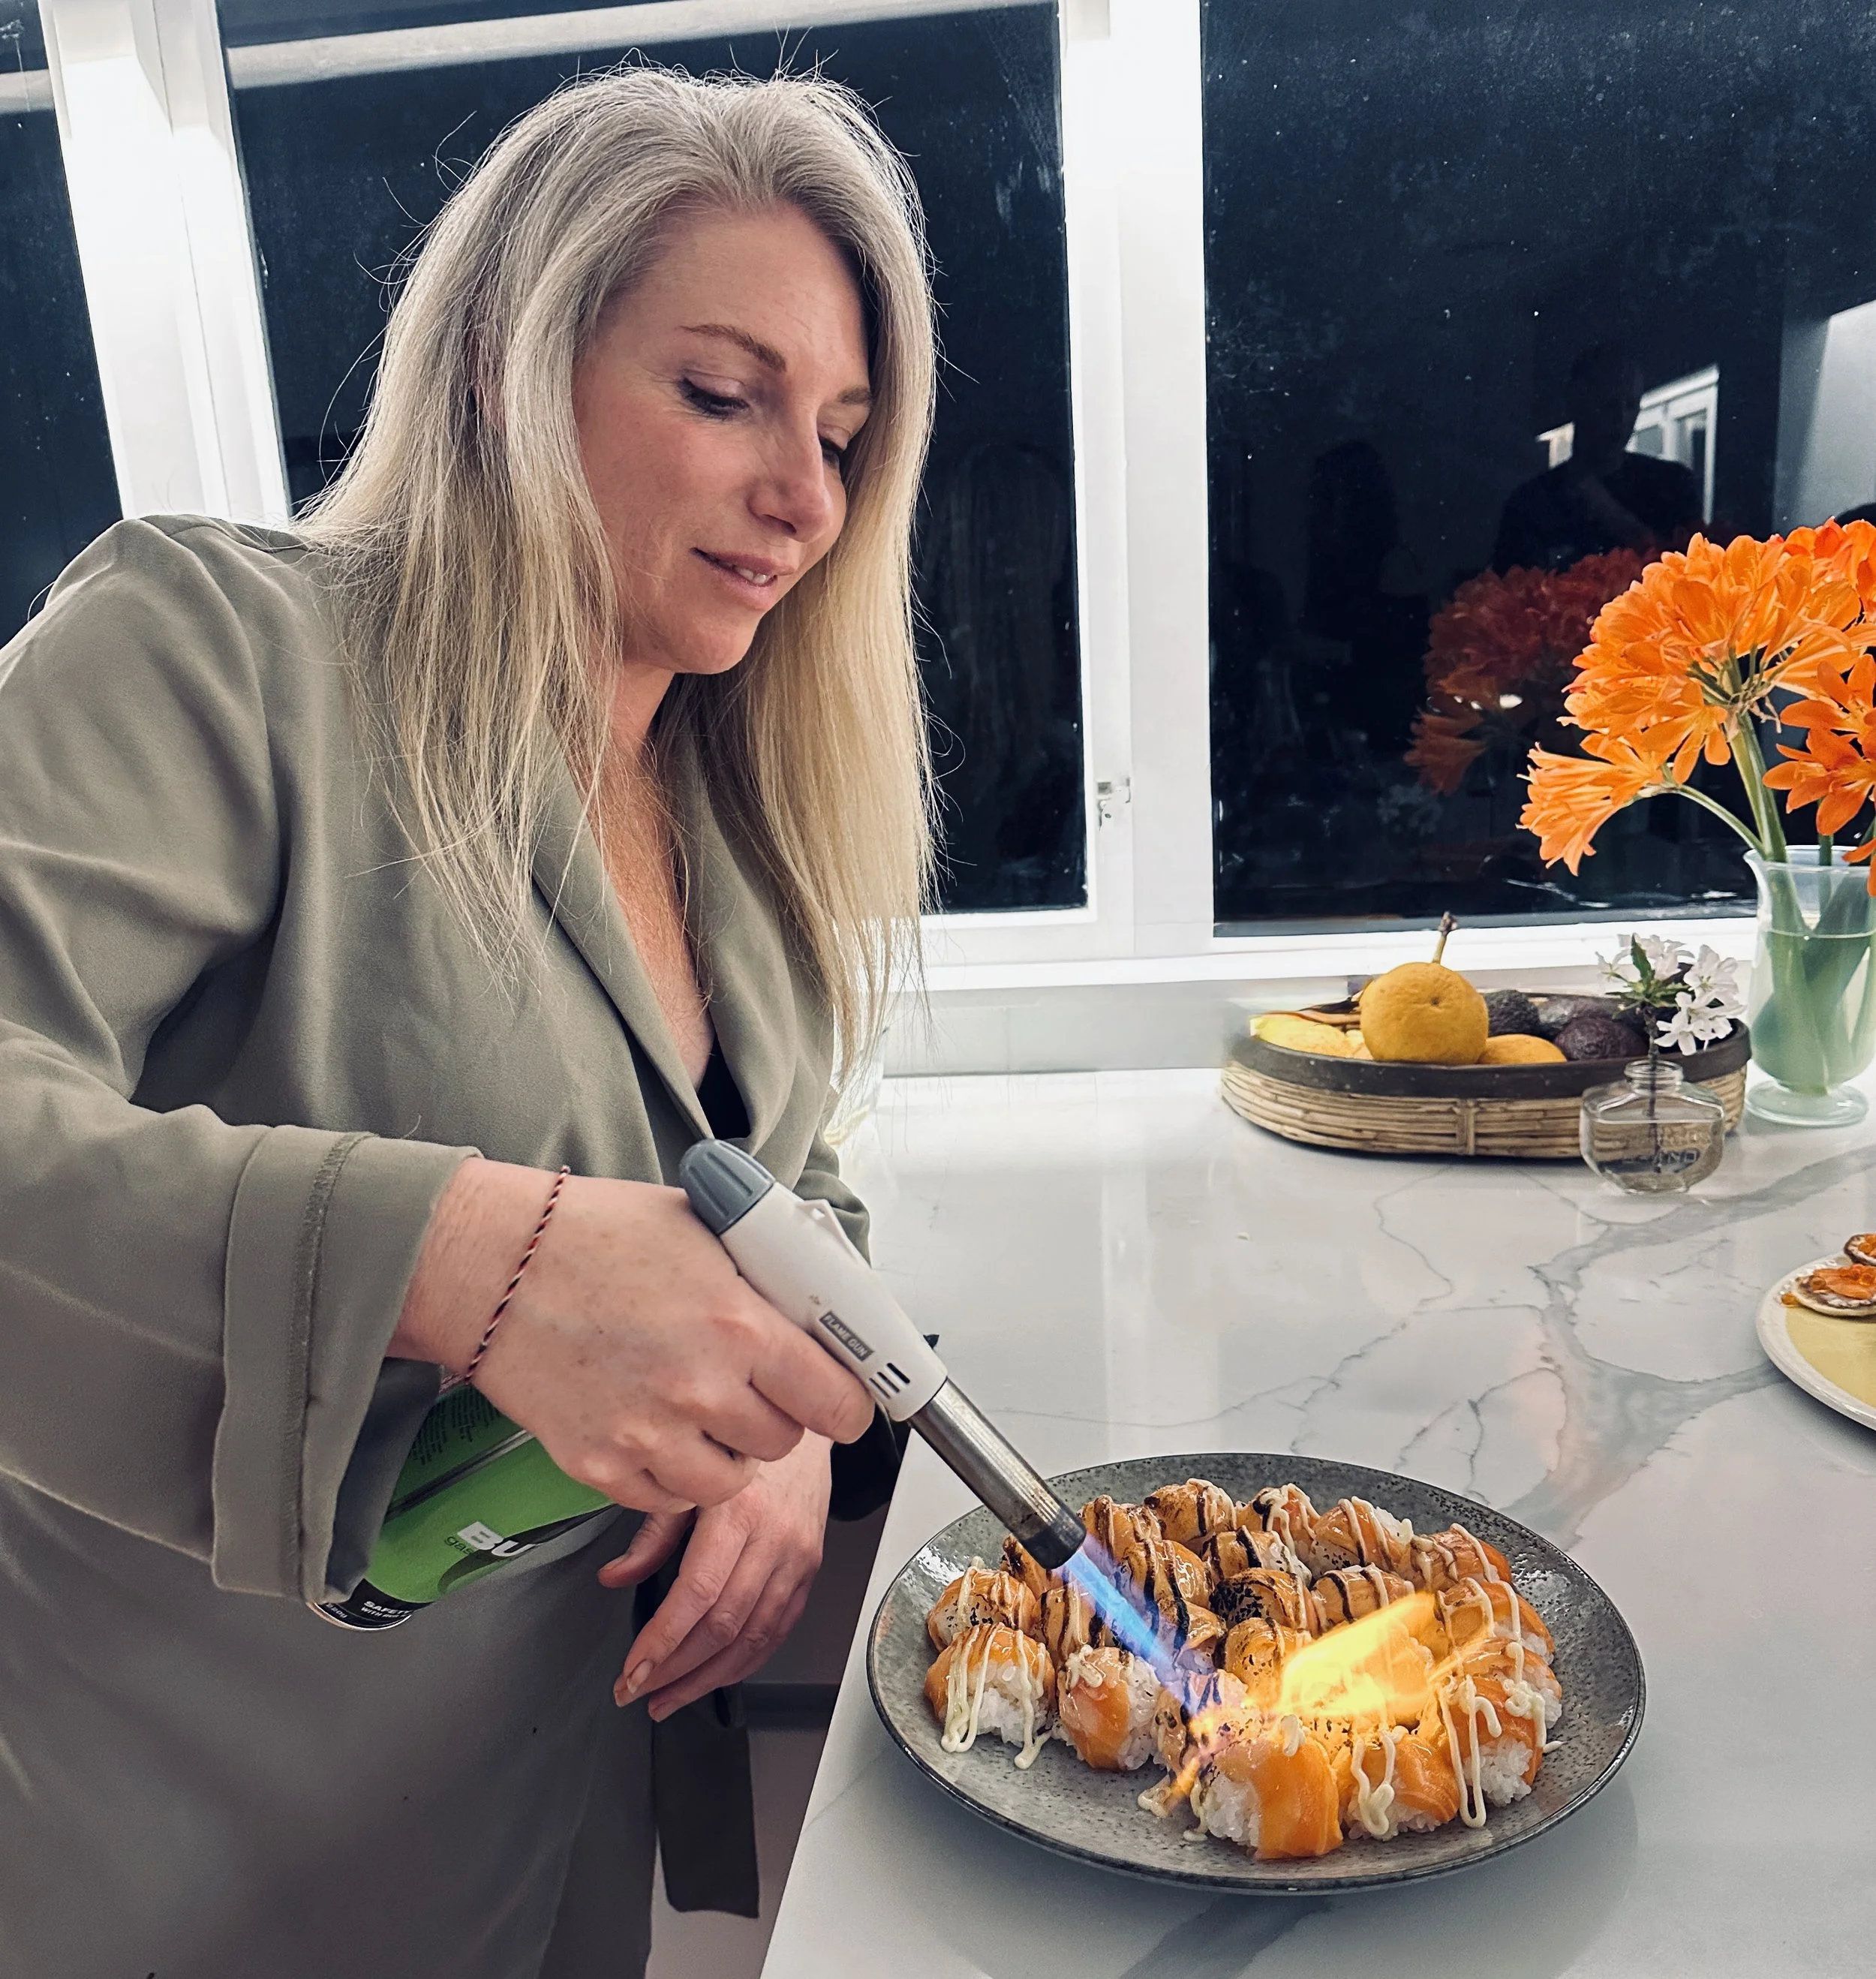
Use a kitchen blowtorch to heat the salmon until the surface darkens and crackles and the fat becomes aromatic.
Serve right away.
If you noticed some chump had pinched a nigiri before they were torched, well-spotted!